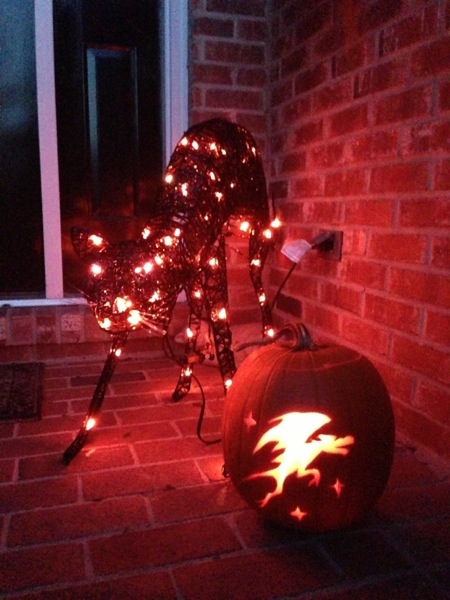
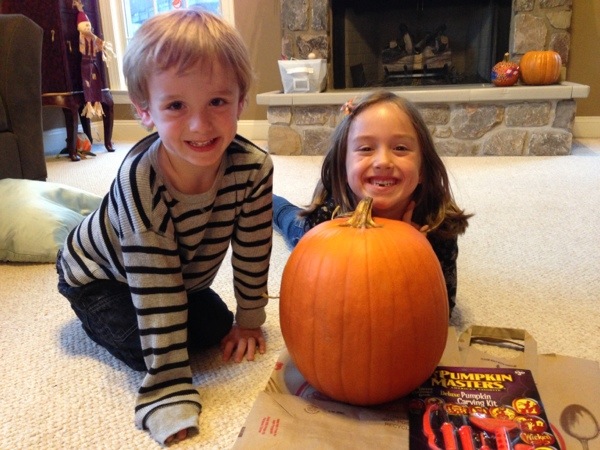
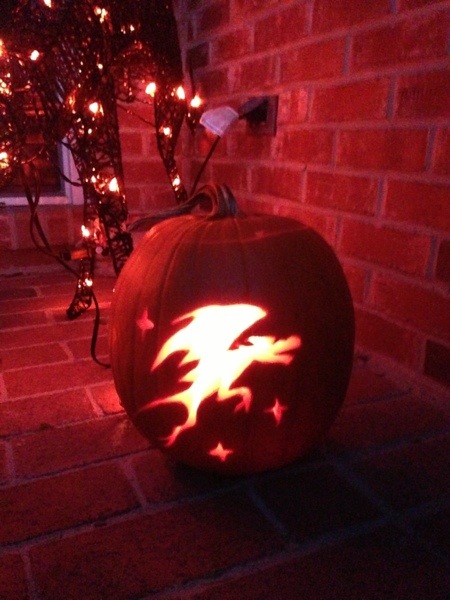
Yes, we really carved this pumpkin ourselves! Isn’t it amazing???? I profess I’m so proud of our results. Mission accomplished!
So how did we do it? The magic of a carving kit with template and tools. Any of the really inexpensive Pumpkin Masters kits totally do the job! We’ve found them for $3-$5 in season during the fall.
Here’s a link to the $5 basic kit – Pumpkin Masters 102632 Pumpkin Carving Kit![]()
![]() ! We’ve had excellent success with the various Pumpkin Masters kits we buy over the years — since we’ve bought more than one as I often can’t find all my Halloween seasonal decor so I simply pick up a new carving kit they are so inexpensive.
! We’ve had excellent success with the various Pumpkin Masters kits we buy over the years — since we’ve bought more than one as I often can’t find all my Halloween seasonal decor so I simply pick up a new carving kit they are so inexpensive.
If you want a more elaborate kit go for the $10-$14 versions with a few more tools to make the job even easier – this is
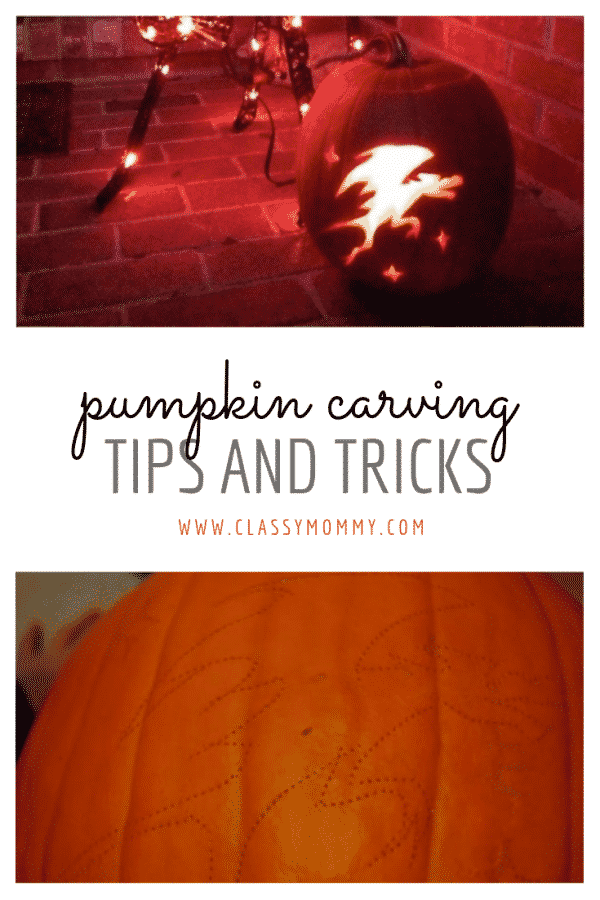
Almost all the carving kits from Pumpkin Masters include FREE carving templates. YAY! Check out how we got creative with our free template below. I love how it turned out!
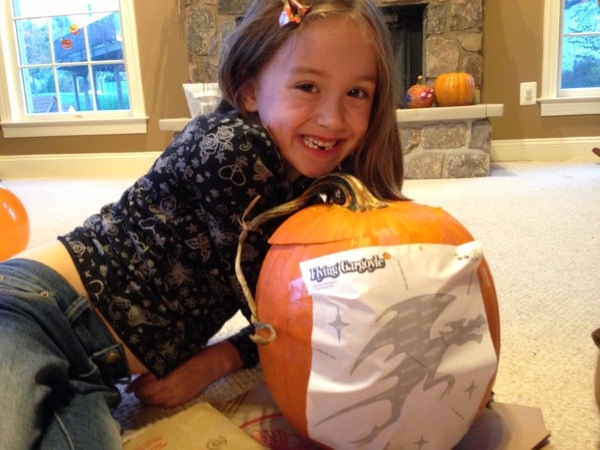
We used a “flying gargoyle” template from this fabulous Carving Kit book that came complete with serious carving tools that truly work wonders on the task that is pumpkin carving. This is the template we chose from a big book with tons of options that came for free with the kit.

The Carving Kit was well worth our $3-5 investment and I promise if you buy you’ll quickly move beyond the world of traditional jack-o-lantern carving too! If you want a more elaborate kit go for the $10-$14 versions with more tools to make the job even easier ….VIVREAL Halloween Pumpkin Carving Kit, 12 Pieces Heavy Duty Stainless Steel Carving Tools Set for Halloween Decoration, Easily Sculpting Jack-O-Lantern![]()
![]()
Taking the “lid” or top off the pumpkin was ultra easy as we used the little knife included in the kit.

Seriously 1000x easier than when we used to cut a pumpkin with a giant knife. This mini knife was a miracle! And it is so small!

Next we taped our template to the pumpkin and the “traced” the paper to “score” it with a special wheel type carving tool including in the kit.
Here’s how the pumpkin looked after we traced our template with the scoring tool. Then you remove the paper and are left with the below area to then cut and pop out with more of the stellar carving tools.


And here’s the final product. All lit up. Truly awesome! The kids are super excited about it and so are we!
Nice! It look wicked.
This post makes me SO excited to carve pumpkins this year! I’ll have to branch out and get the kit this year:)
Laryn – seriously I can’t believe how much easier it was to use with the kit. The tools look like they would be worthless – so tiny but truly it was a tool set of just what you needed and VERY sharp with various edges. Definitely try it out!
Totally true this kit was awsome I did the same gargoyle and was stunned with the results.