Wonder how to make placemats with fall leaves? Here’s the scoop below.
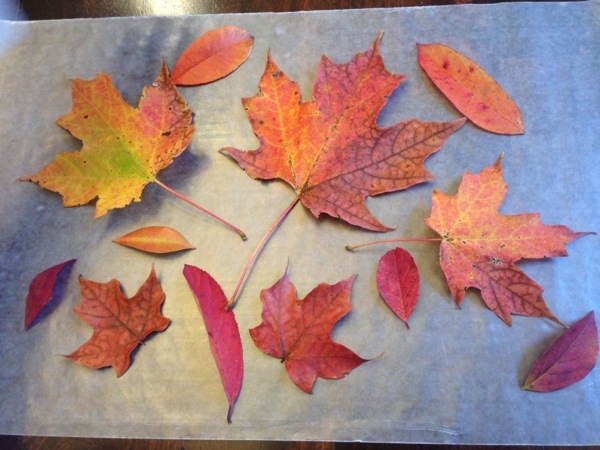
This easy craft is so much fun! I vividly remember collecting fall leaves and making homemade placemats with my Mom out of wax paper every October as a kid. If your looking for a quick and easy fall craft to do with your kids, wax paper placemats are a cinch and cost virtually nothing. Bonus – even the least crafty Moms can pull this one off and it will be big win with your kids. It’s so simple – just wax paper, fall leaves, and iron it all together. Nice! Here’s our step by step simple easy instructions on how to make placemats with Fall Leaves.
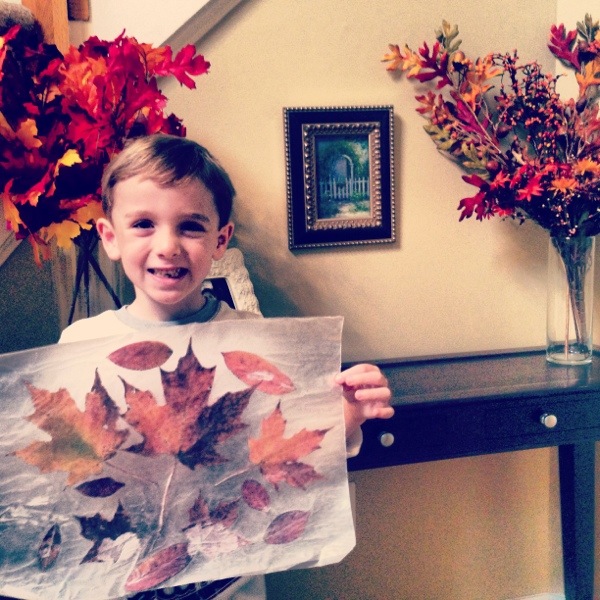
Check out my handsome co-worker’s results from his efforts collecting leaves and designing a cute pattern for his leaves. He is thrilled with the result!
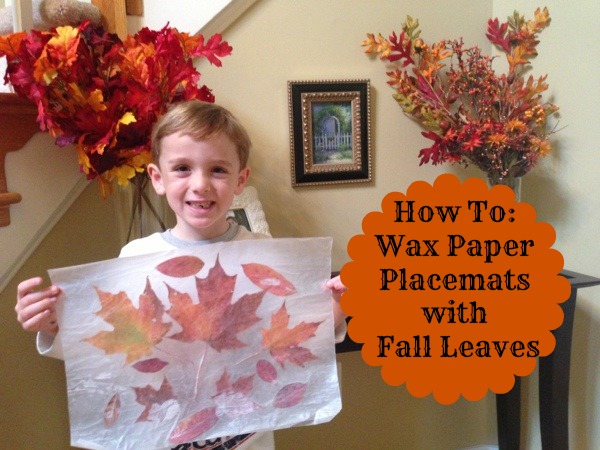

How To Make Placemats with Fall Leaves
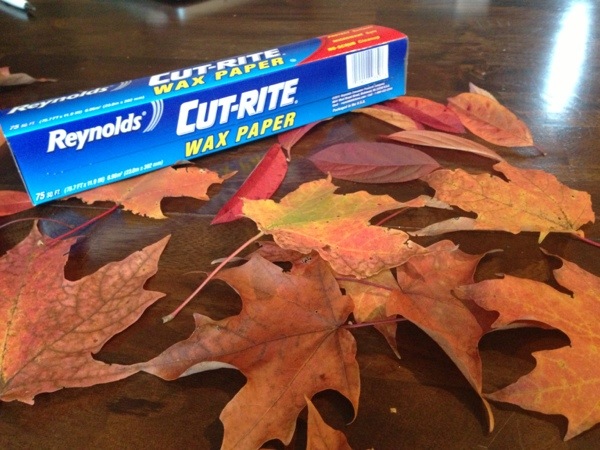
Materials: All you need is to collect brilliant fall leaves, a roll of wax paper, and an Iron. For under $4 at Walmart you can purchase a roll of wax paper which has enough materials to make nearly 50 placemats if you desire to make that many.
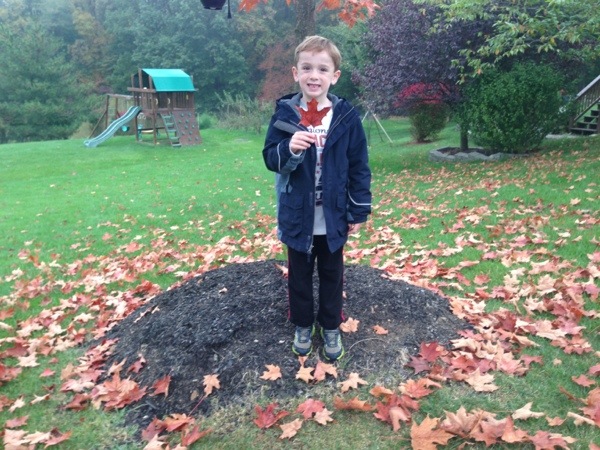
Tips on leaf collecting – don’t go when it’s rainy! You’ll need fresh leaves and the best ones are actually still on the trees but have turned colors already. Those on the ground already tend to be too dry, crunchy and moldy.
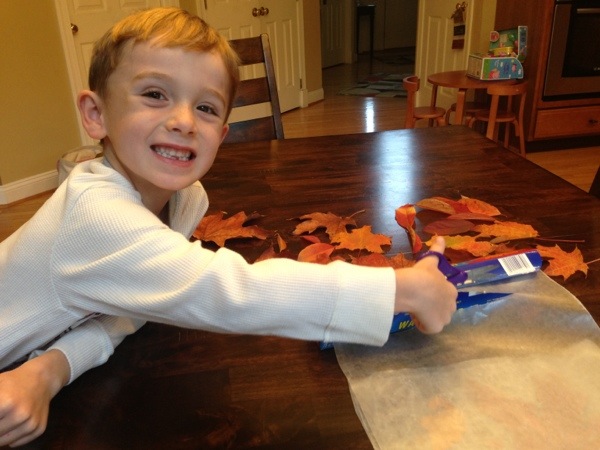
What makes this such a fun activity is that the kids can help almost every step of the way up until the time to actual iron your wax paper sealed to form the final placemat. I let Kyle cut the wax paper as this is fun for him and great for his fine motor skills. And then I trimmed it more evenly after I finished ironing it all together.
Directions:
1. Place leaves in between 2 sheets of wax paper.
2. For a perfect placemat, sit over night with books placed over your leaves and wax paper to perfect flatten them. If you want instant gratification like myself and my children, skip this step and go right to the Ironing board!
3. Place a cotton t-shirt or cloth over your wax paper placemat. Then, iron the t-shirt covering your wax paper so the 2 pieces seal shut together. Start from the corners and edges as this is the area you want to be certain to seal.
4. Trim your placemat to size after you iron it so the edges are even.
Kyle arranged his leaves into a cute pattern.
Then we ironed it all together which took all of about 2 minutes on the “cotton” setting of our household iron. Perfection!

so fun! i used to love making those.
Man, this takes me back. I should try this with Violet. Any given day, she collects about 20 leaves. 🙂
Oh we definitely have to try this!
Wow, I love this!! I didn’t even know you could do this so easily. I’m not much of a crafter, but my daughter is learning about leaves, and I think this would be a fantastic project for both my kids! Thanks for sharing.
Oh my goodness, so cute. I adore easy fall leaf crafts!
Fun and easy… right up my alley! Thanks for sharing such a cute (and educational) idea!
He looks so proud! Love it! I remember doing this a few years ago with my kids it was fun picking out the leaves and making the mat!
I just love how this instantly took me back to my childhood!
What a fun activity! It could be fun to label them with the names of the different leaves too, if you want to add an educational touch to it 🙂
Love this! I remember doing it as a kid!
I love projects that yield really useful and totally adorable keepsakes that i can use on a regular basis! Love this craft!
I loved as much as you will receive carried out right here.
The sketch is tasteful, your authored material stylish.
nonetheless, you command get bought an shakiness over that you wish be delivering the following.
unwell unquestionably come more formerly again since exactly the
same nearly a lot often inside case you shield this hike.
Wax in or wax out?
wax side facing in.
Of course, what a great website and revealing posts,
I definitely will bookmark your website.Best Regards!